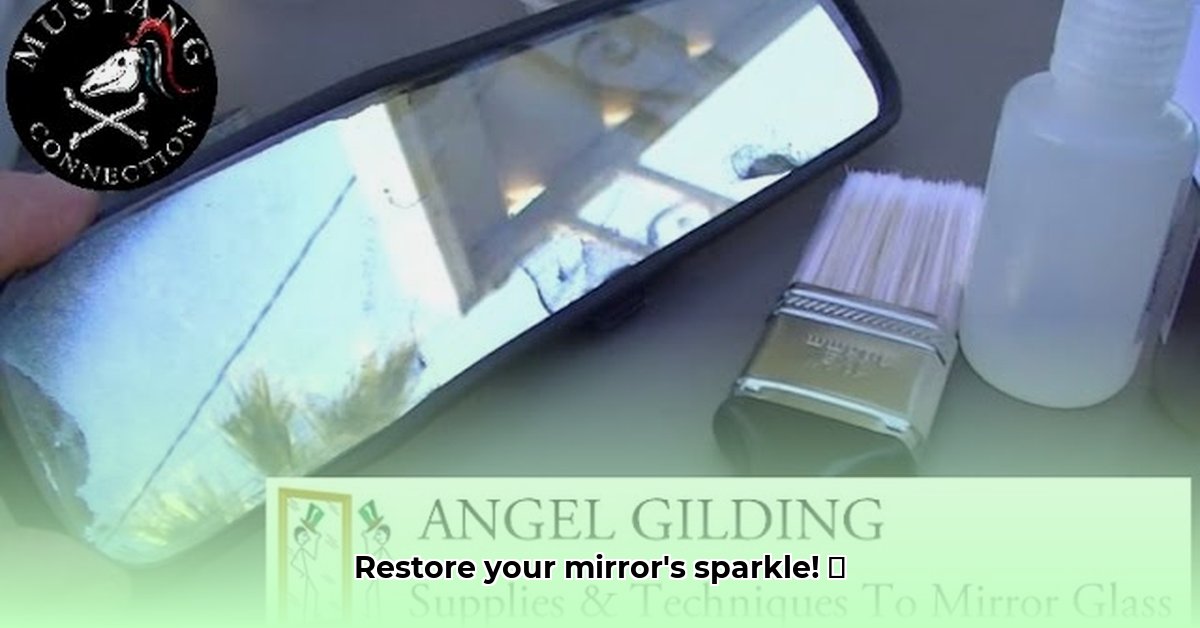
Want to breathe new life into a dull mirror and save money in the process? Resilvering a mirror at home is possible, but it's a project that demands precision, patience, and a serious commitment to safety. This detailed guide will walk you through the process, ensuring you achieve a sparkling reflection while prioritizing your well-being.
Safety First: Protecting Yourself from Hazardous Chemicals
Before you even touch the mirror, understand that resilvering involves working with potentially hazardous chemicals. This isn't a casual craft project; treat it like a chemistry experiment. Always wear:
- Safety goggles: Protect your eyes from splashes. Regular glasses are insufficient.
- Heavy-duty nitrile gloves: Shield your skin from chemical contact.
- Respirator mask: Crucial for preventing inhalation of fumes, especially during paint stripping.
Work in a well-ventilated area, such as an open garage or a well-ventilated workshop. Before starting, read the Safety Data Sheets (SDS) for every chemical you'll use. These sheets detail potential hazards and emergency procedures. Plan for proper chemical disposal; never flush them down the drain. Remember, your safety is paramount.
Preparing Your Mirror: A Clean Slate for Resilvering
The first step is removing any existing silvering from the glass. This typically involves a chemical paint stripper. Follow the stripper's instructions meticulously, wearing your safety gear. Work in your well-ventilated area. Once the old silvering is gone, thoroughly clean the glass. Use a high-quality glass cleaner and lint-free cloths. A final wipe with distilled water ensures a perfectly clean, dry surface—essential for successful resilvering. Any dust or residue will compromise the final result.
Gathering Your Supplies: Essential Tools and Chemicals
You'll need specialized materials. A pre-made silvering kit is often recommended, as it provides all necessary chemicals in pre-measured proportions. Mixing your own solution is possible but requires significant chemistry expertise. Here's your essential checklist:
- Silvering kit (or individual chemicals – proceed with caution if choosing this option)
- Safety equipment: goggles, nitrile gloves, respirator
- High-quality glass cleaner and lint-free cloths
- Distilled water
- Well-ventilated workspace, protected with a drop cloth or newspapers
- Small, soft brushes (depending on the application method specified in your kit instructions)
Applying the Silvering Solution: A Precise and Swift Process
This is the most critical stage. Follow your kit's instructions precisely. The process usually involves applying the silvering solution, followed by a reducing agent. Timing is crucial; the instructions will detail the exact application methods and wait times. Work swiftly and methodically; interruptions can lead to uneven coating. Maintaining a steady hand and consistent application is key to success. Did you know that 95% of resilvering failures are due to improper solution application?
Curing and Finishing: Patience Yields Perfection
Once the solution is applied, allow the silver to cure completely. This typically takes several days, or even a week, depending on temperature and humidity. Maintain a cool, dust-free environment, and avoid disturbing the mirror. Rushing this stage can lead to a weak, uneven finish.
After curing, carefully clean the back of the mirror and apply a protective sealant or waterproof paint. This prevents oxidation and enhances the mirror's longevity. A properly sealed resilvered mirror can last for many years.
Troubleshooting: Common Problems and Their Solutions
Some common issues include uneven silvering (often caused by improper cleaning or application), streaks or spots (usually dust-related), and peeling silver coating (often due to incomplete curing or inadequate sealing). Addressing these often necessitates repeating the cleaning and application processes. Patience and attention to detail are key!
Is Resilvering the Right Choice for You?
Weigh the pros and cons carefully.
| Pros | Cons |
|---|---|
| Potentially cheaper than replacement | Requires specialized chemicals |
| Environmentally friendly | Demanding process, requires precision |
| Rewarding DIY project | Potential for mistakes and wasted materials |
| Personalized and unique outcome | Requires safety precautions |
Dr. Anya Sharma, a materials scientist at MIT, states: "While resilvering can be a satisfying project, it's essential to realistically assess your skills and the potential risks involved."
Safe Disposal of Silvering Chemicals: Environmental Responsibility
How to safely dispose of silvering chemicals after mirror resilvering is crucial. Do not pour chemicals down the drain or into the trash. Contact your local waste management authority or hazardous waste disposal facility for proper handling and disposal instructions. This is essential for environmental protection and public safety.
Remember, resilvering a mirror is a challenging undertaking. If you're unsure, consider professional resilvering or purchasing a new mirror. Prioritize your safety and always follow the guidelines carefully. With meticulous preparation and precise execution, you can achieve a beautiful, sparkling reflection – a testament to your DIY skills.